Welcome to the Kale Gardening Guide
Use the jump links in the table of contents below to immediately jump to the section you’re interested in, or scroll through and read all the information provided.
Kale Table of Contents
- History
- Germination
- Transplanting Outdoors
- Sun, Soil & Water
- Companion Plants
- Edible Landscape & Containers
- Pests & Diseases
- Harvesting
- Saving Seeds
- Additional Resources
Kale History
Origins of Kale
In recent years, kale (modern cultivars belong to either Brassica oleracea variety acephala or Brassica napus) has become one of the most popular vegetables in the US. It’s popularity is not just a recent phenomena. It has been one of the most popular vegetables throughout Europe for 2,000 years.
Like other brassicas (broccoli, cauliflower, cabbage, kohlrabi, Brussels sprouts), kale’s origins can be traced back to the wild leafy cabbage plants that grew along the coast of the northern Mediterranean. Of all the various brassicas, kale is the most similar to its wild ancestors. Breeding of these wild plants started in around the 6th century BCE, and modern kale has a much larger leaf and likely a better flavor profile than its wild ancestors.
Where did the English word “kale” come from? Well, the Danish and Swedish call the vegetable “kål,” the Germans call it “kohl” and the Scottish call it “càl.” So, no matter where you travel in Europe, there’s a good chance you can order “kale” off of a restaurant menu without actually knowing the native language.
Kale is a nutrient-dense food that is extremely cold-tolerant. This cold-hardiness also contributed to its popularity in the colder climate regions of Europe. In the cold and blustery Scottish Isles, “Kale Yards” were built next to virtually every homestead. 3-4′ rock walls were built to help cut the harsh winds; sheltered within these walls was the life-sustaining kale that would help get the family—and possibly their livestock—through the brutal winters. Whatever kale wasn’t immediately eaten upon harvest would be preserved in a similar fashion to German sauerkraut. Many homes in Scotland still have kale gardens, and the rock walls of the old Kale Yards along the coast still indicate where families once lived hundreds of years ago.
Varieties of Kale
As you might imagine, a plant can change a lot when bred by thousands of people over thousands of years in thousands of locations. For kale, this selective breeding has given us a wide range of unique kale varieties:
- Plain leaved
- Curly leaved (Scots Kale)
- Rape kale
- Leaf and spear (a cross between curly-leaved and plain-leaved kale)
- Cavolo nero (commonly called “Lacinato” or “dinosaur” kale)
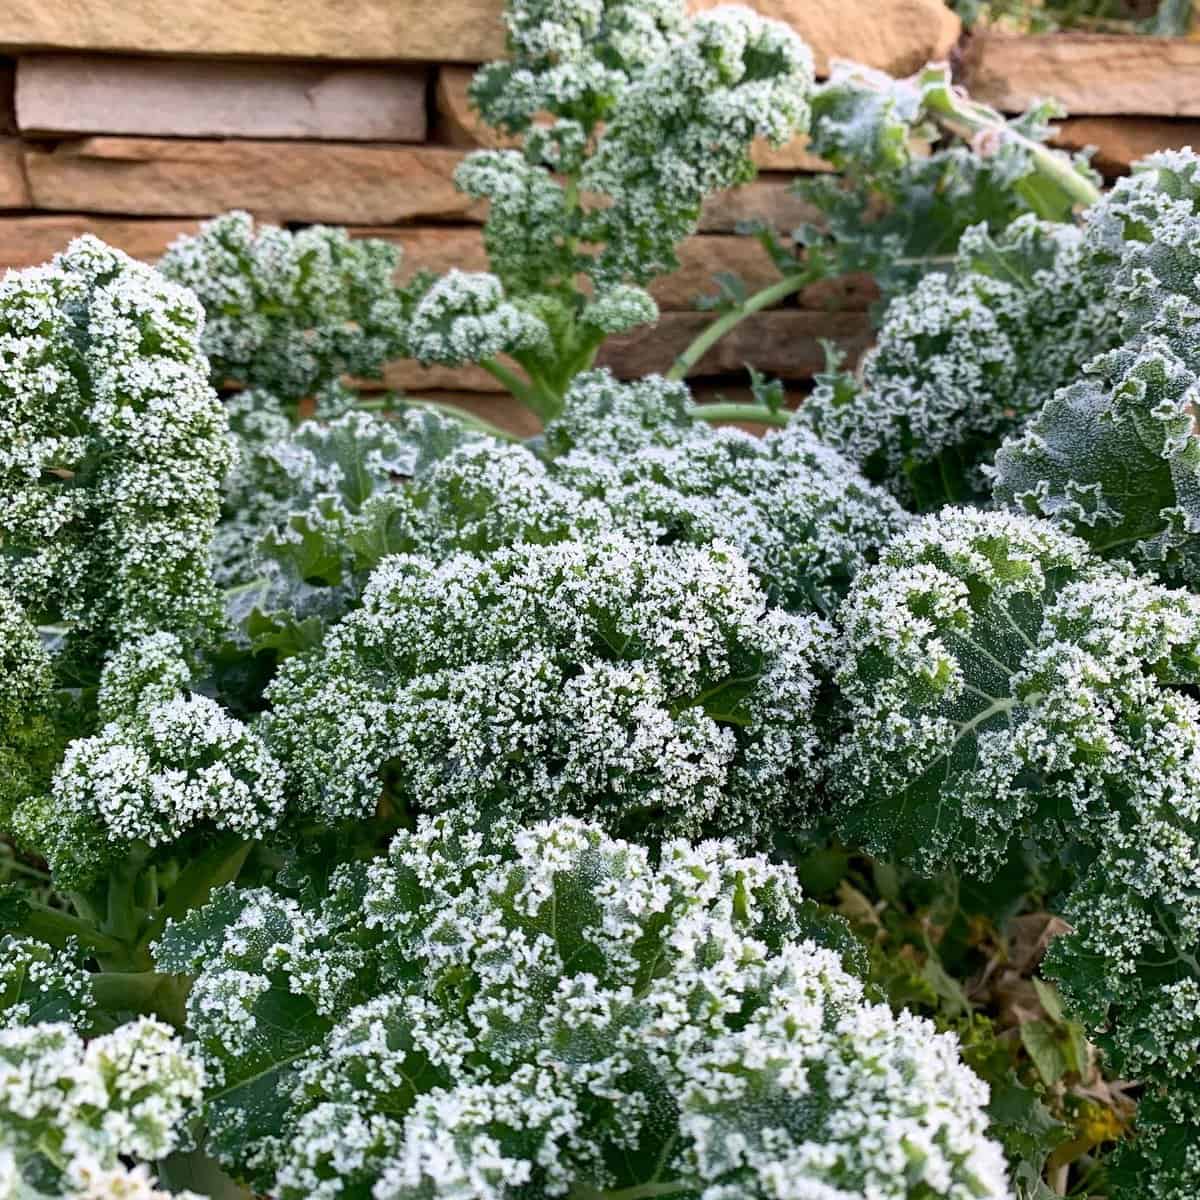
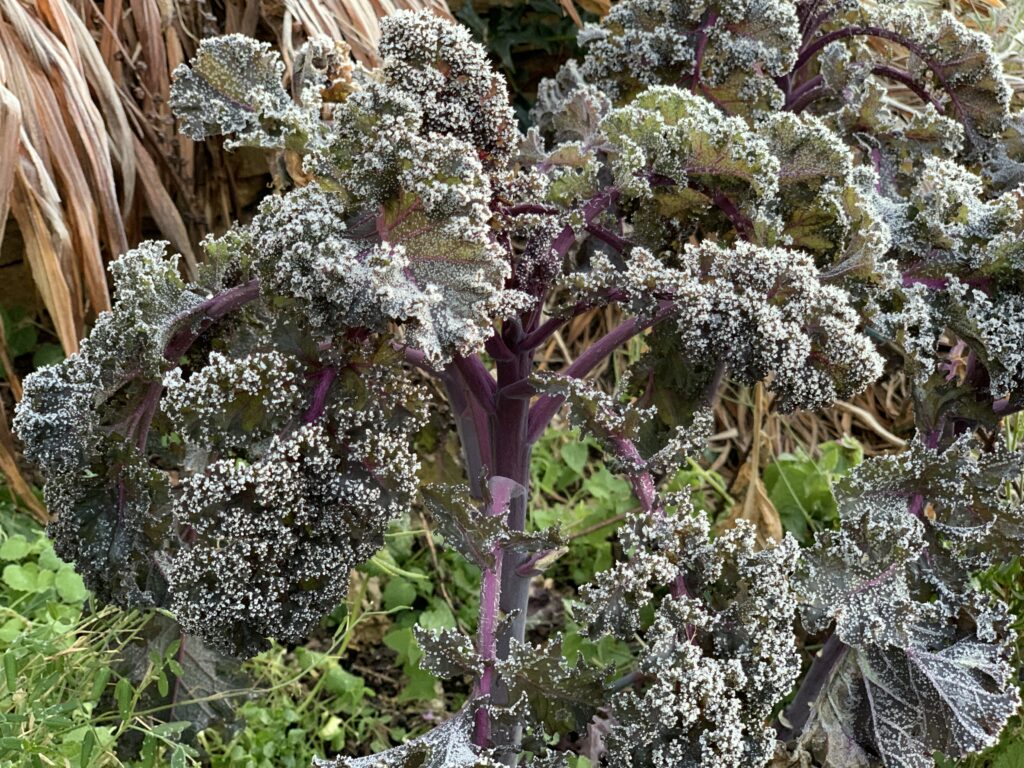
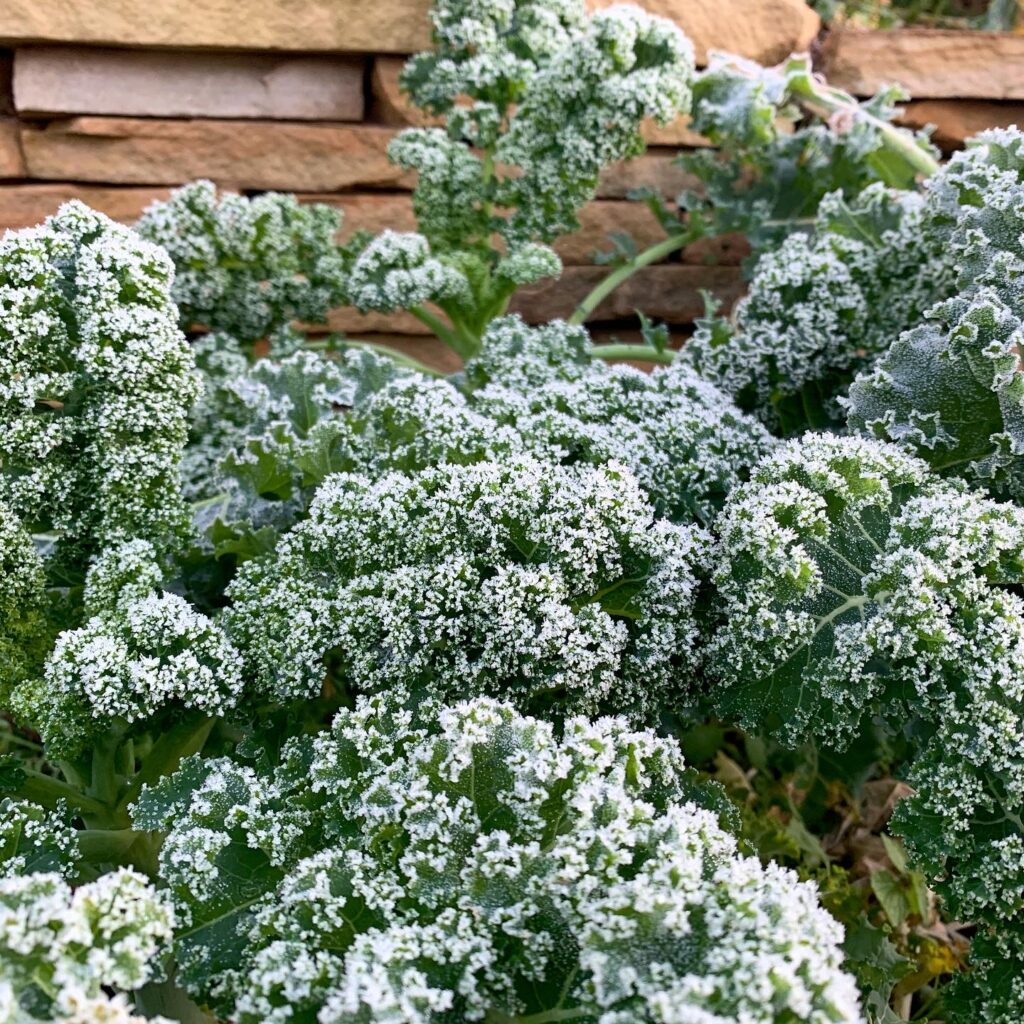
No matter the variety, kale is cold-hardy and actually tastes sweeter and more flavorful after a frost.
The Journey Continues…With You
Imagine being nestled near a warm hearth, a frigid wind howling off the ocean and battering the stone walls of your home overlooking The Minch. The smell of bacon and stewed kale fills the air. This nutrient-rich green helped countless generations of Europeans survive brutal winters. Beyond its health benefits, kale is also one of the tastiest greens you’ll eat—especially once a frost has “sweetened” it. Enjoy it for all it offers and share its seeds with other people so its grow journey can continue!
Ready to start your kale seeds? Read on…
Seed Germination
There are two basic methods you can use to germinate your kale seeds:
- Germinate indoors: A little more time-consuming (you have to keep track of watering your seedlings & making sure they are getting enough light);
- Germinate outdoors via direct sowing into your soil: Very easy. The less time-consuming approach, but your germination rates might be lower than they would be in a controlled indoor environment. You’ll also tend to use more seeds direct sowing outdoors than you would germinating indoors.
Neither of these approaches are “right or wrong,” so use whichever method is best for you given the amount of time you have to commit (if growing indoors, a few minutes each day), your level of gardening experience and the resources available to you.
Based on the approach you decide to take, read the next sections about starting your seeds indoors or outdoors.
Starting your Kale seeds indoors

1. WHEN TO START YOUR SEEDS
- For Spring & Summer Harvests – Find your last frost date here. Five to seven weeks before your last frost date is the ideal time to start your kale seedlings indoors for the warm-weather growing season. You can continue to start new kale seeds (indoors or outdoors) throughout the spring and summer to get continuous harvests of young leaves. Kale can grow in part to full sun; in the intense heat of mid-summer, kale will grow better when grown in part shade (less than 6 hours of direct sunlight).
- For Fall Harvests – In many locations, you can even start kale in mid-late summer or even all the way into the fall. If you’re starting your kale seeds for a late summer and fall harvest, start them indoors anywhere from 6-10 weeks before your first frost date, then transplant the kale seedlings outdoors when they’re about four weeks old. A 10 week jump on your first frost date will give you enough time to get harvests of large, mature kale leaves, whereas starting them 6 weeks before first frost will give you nice harvests of baby kale leaves.
2. WHAT TO PLANT THEM IN
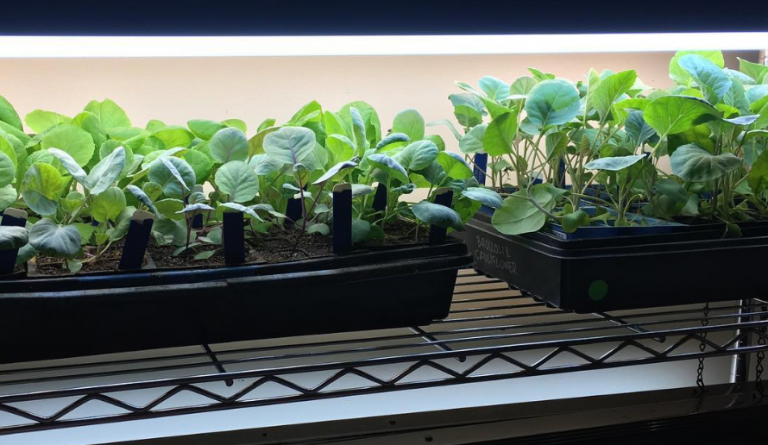
POTS: Kale can tolerate moderate root disturbance during transplanting, so you can use reusable plastic trays to start your seeds. We recommend sowing your kale seeds 1/4 – 1/2 inch deep in any of the following:
- reusable plastic plant cells,
- biodegradable pots (peatpots, cowpots, paper pots, etc), or
- Ladbrooke soil blocks.
No matter what material you use for your seedlings, be sure to put a solid plastic seed tray or an old cookie sheet underneath them to keep water from dripping out onto your floor or furniture.
SOIL: Do NOT fill your seed cells with soil from your garden, since this tends to harden into an impenetrable brick. If you’re a new gardener or you’re not starting very many seeds, we recommend that you buy a ready-made organic seed starting mix. If you’re a more experienced gardener or you’re starting a lot of seeds, we recommend you use our DIY seed starting mix recipe to make your own:
- 4 parts screened worm castings and/or screened compost made from Berkeley hot composting method (purpose: introduce a massive amount of beneficial microbes to your seedlings while providing plant nutrition)
- 2 parts coconut coir (purpose: provide light, but well-draining growth medium for seedling roots)
- 1 part vermiculite (purpose: increase water & nutrient retention)
- 1 part perlite (purpose: increase soil aeration & good drainage)
Instructions: Mix all dry ingredients together until well blended. Then stir in water to get your seed starting mix moist (but not sopping wet) BEFORE you put the mix into your seed cells. We usually mix and wet a big batch in a wheelbarrow. Once wetted, this mix will expand significantly relative to its dry volume.
Organic seed starting mix and/or every ingredient you need to make your own DIY seed starting mix is available here in our Organic Gardening Supply Store.
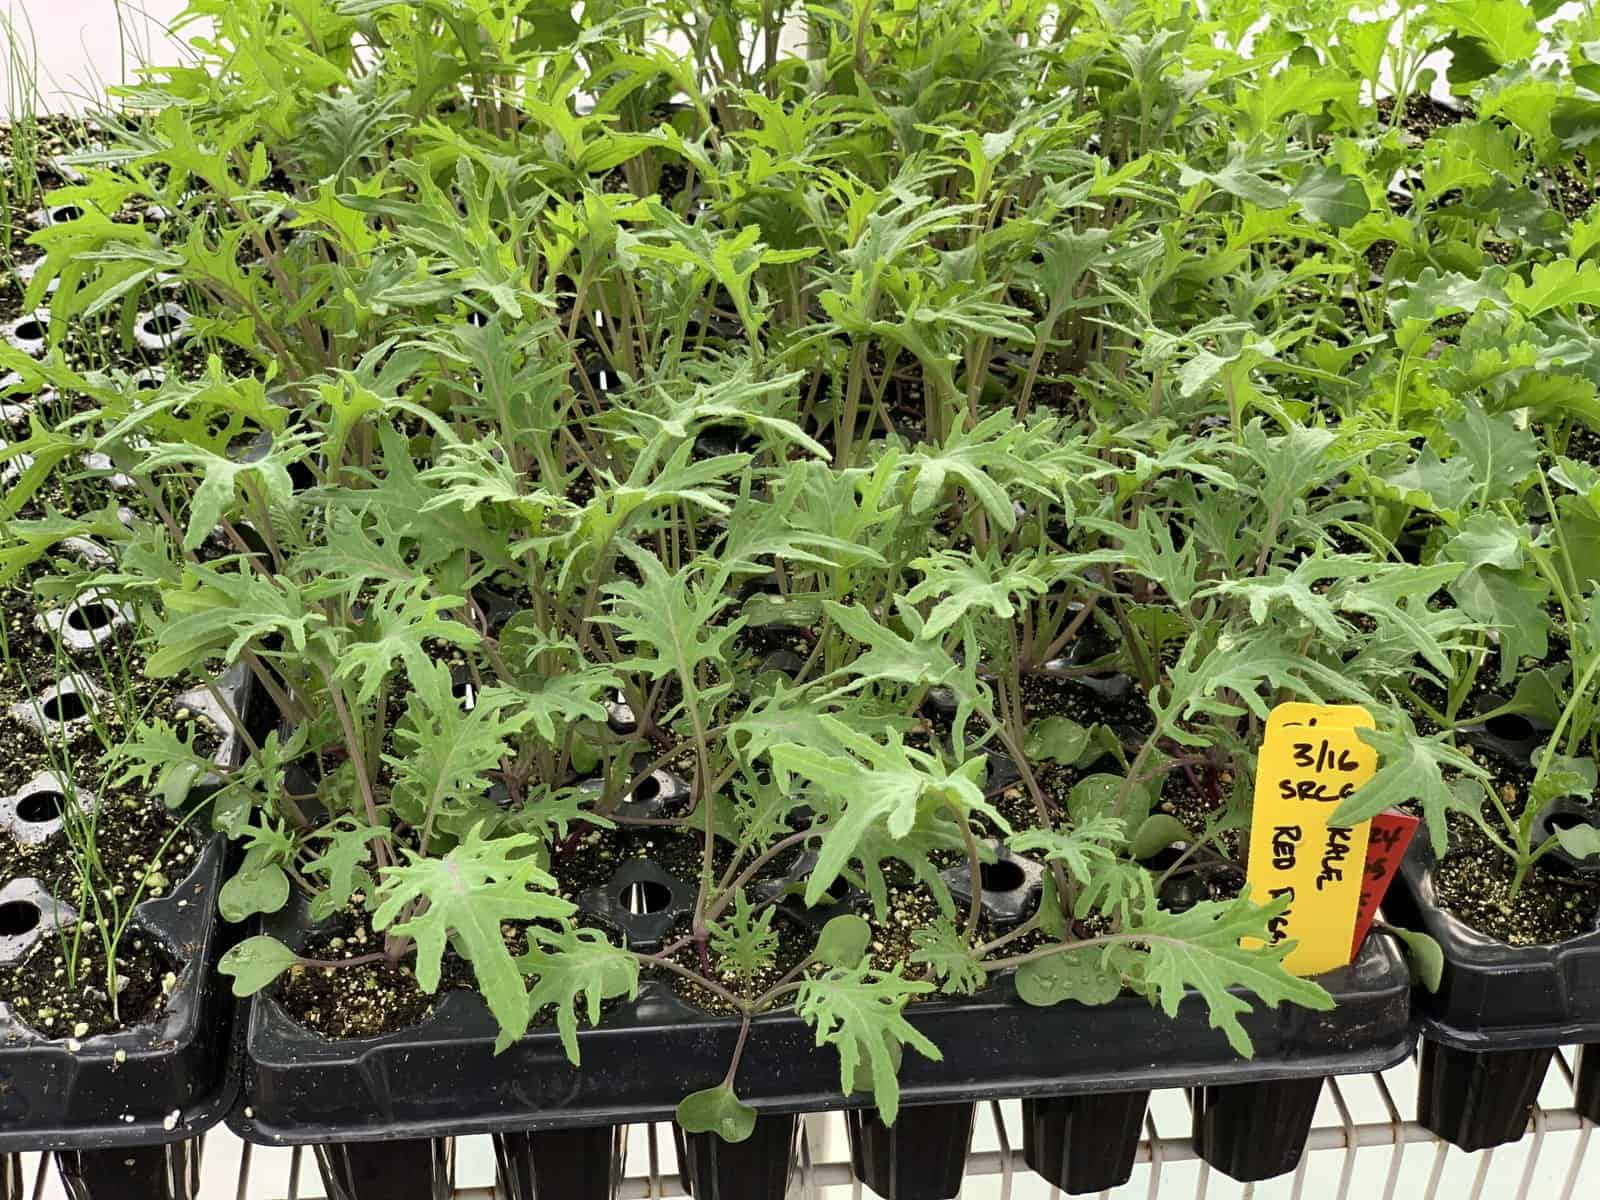
LABELS: Don’t forget to label the cells or containers to indicate the variety of seed as you sow your seeds. For our labels, we use either plastic strips or wooden popsicle sticks and write the kale variety on them with a permanent marker that won’t fade under UV light (like the kind you’d use to scrapbook with) or a wax pencil (available at garden centers).


3. GERMINATING CONDITIONS
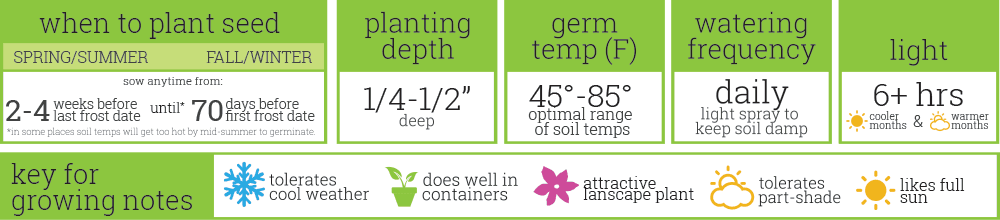
WARMTH: Once your seeds are sown, place your seed trays in the warmest spot in your home. The ideal temperature range for kale seed germination is 45° to 85°F; at these temperatures your kale seeds will germinate in about 4-7 days. If temperatures are at the lower end of this germination range, your seeds may take an additional week to germinate.
If you don’t have a super warm spot to germinate your seeds in you can buy soil warming mats that will maintain the soil temperature 10-20 degrees above the ambient room temperature. Heating pads (like the type you buy at the drugstore) can work, but heat settings vary from manufacturer to manufacturer and may make your soil too warm or cause it to dry out quickly. We’ve used them in a pinch, but check in on them frequently (until you know how it’s going to effect things) and only use them on the lowest heat setting.
WATER: To help with germination, make sure your seed containers stay moist, but not wet. Start by watering them every 24 hours, but if they look really damp hold off and check on them again in a few hours. Note: they will dry out faster on soil mats or heating pads.
4. ONCE THEY’VE SPROUTED
INDOOR LIGHT: As soon as your kale seeds have germinated/sprouted above the soil surface, place them in front of a south-facing window in your home (e.g. the window that gets the most sunlight throughout the day). We don’t have a particularly sunny window at our home, so we use florescent grow lights (just regular shop lights from the hardware store) hung overhead instead. It’s crucial that your seedlings get adequate light—an absolute minimum of six hours of direct light—otherwise they’ll quickly become weak and leggy. Tip: Periodically turn your seed trays so that the same side is not always facing towards the sunny window—this will prevent the side furthest away from the sun from getting leggy or stretching sideways towards the light.
OUTDOOR LIGHT (daytime temps over 45°F): When the daytime temperatures are over 45°F, you can start putting your kale seedlings outside in direct sun. However, if you don’t “harden off” your seedlings before exposing them to direct, unfiltered sun, you risk them becoming sunburned. You can read more about how to harden off your seedlings in the Transplanting Outdoors section.
5. FEEDING THEM:

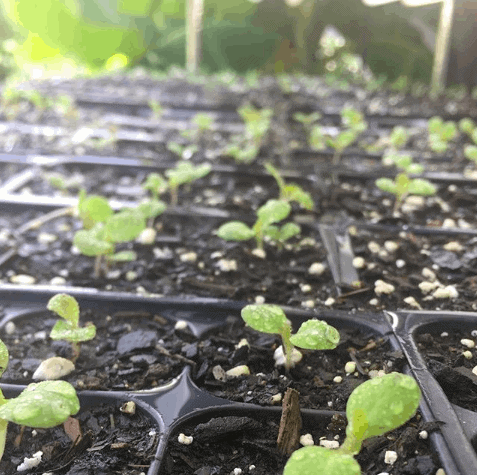
The first two leaves on your kale seedlings are called “cotyledon” leaves. The next leaves that develop are the first set of “true leaves.” About 10-14 days after germination, your kale seedlings will get their first true leaves.
At this point, you’ll need to consider nutrition, depending on whether your seed starting mix did or did not contain nutrition.
- No Nutrition In Seed Starting Mix – If there was NOT any nutrition (worm castings, compost, or slow-release fertilizer) in your seed starting mix, you’ll need to start feeding your seedlings immediately as detailed below.
- Yes, There Is Nutrition In the Seed Starting Mix – If there was nutrition in your seed starting mix(worm castings, compost, or slow-release fertilizer), you won’t need to feed your seedlings immediately. You will want to keep an eye on your seedlings over the next few weeks as they grow and their nutritional needs increase. If growth seems slow or the plants leaves start to yellow, that’s a sure sign that they need more nutrition.
When/if your seedlings need nutrition, you have two options:
- Use Organic Liquid Fertilizer – Start applying a water-diluted organic liquid fertilizer 1-2 times per day. Organic fish, kelp, or squid emulsions all work well (available in our store). Dilution ratios vary from product to product, but watering at half-strength (half of what the bottle recommends for feeding mature plants) is a good rule of thumb. Warning: emulsion fertilizers are a bit smelly for about 20 minutes after you apply them, but it usually dissipates quickly. If you’re sensitive to smells, this may not be the best option for you. Also, be aware that over-fertilizing your plants can make them extra attractive to pest insects like aphids which can proliferate rapidly indoors since no predatory insects are around.
- Put Them In Bigger Pots: This is also called “potting up” in gardening lingo. If your seedlings need nutrition or are running out of space in their smaller cells, you can transplant them into larger, 3-4 inch diameter pots or cells using a seed starting mix that contains worm castings, compost, or slow release fertilizer.
Next, keep a close eye on your seedlings to make sure they stay healthy: well-sunned, well-fed and well-watered until your last frost date has arrived. You’re almost ready for transplanting…
Starting your Kale seeds outdoors
Relative to many other crop plants, kale is quite heat and cold-weather tolerant. The flavor of kale is actually improved by cool weather, so the best-flavored kale is grown in fall and winter (in certain climate zones). We grow kale in our garden (Agricultural Zone 7b) year round. Kale can tolerate temperatures as low as 10 °F (some sources say its roots can survive down to -10 °F). We even had some of our kale survive back to back nights of 5 °F (although it was not happy with us for several weeks after).
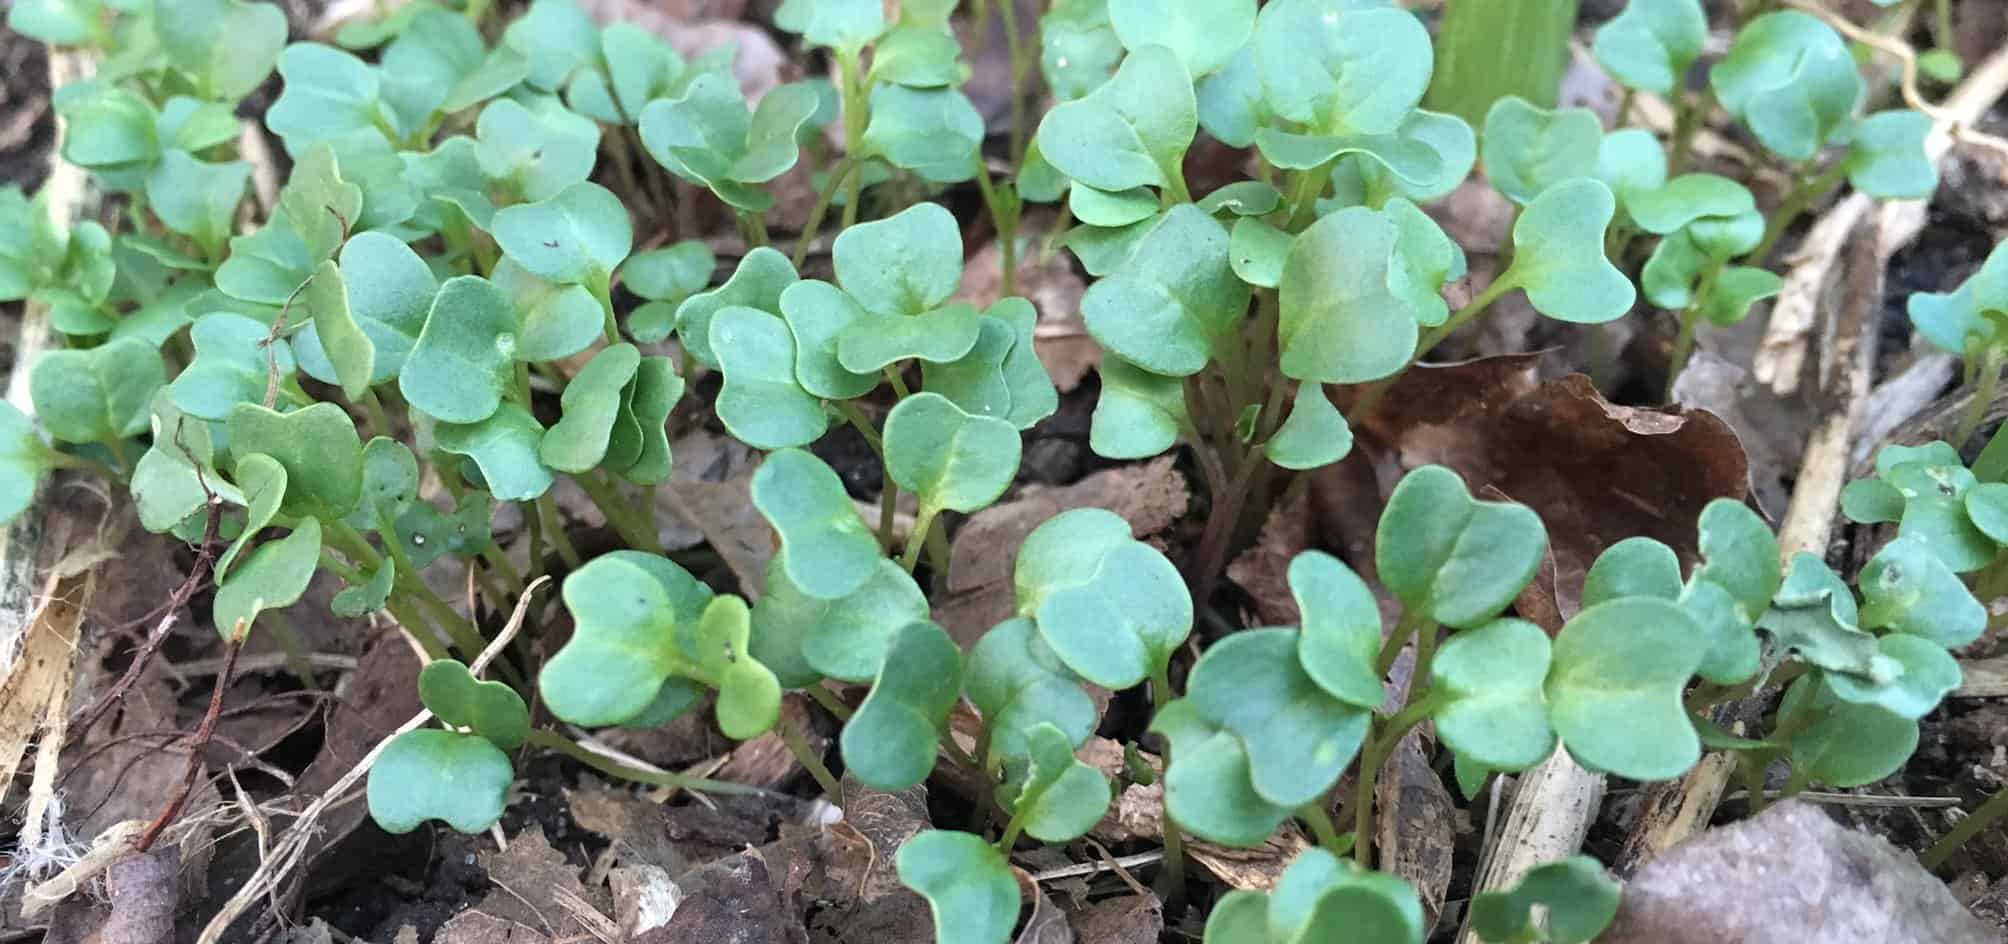
Sowing Kale Seeds
- For Spring & Summer Harvests: sow seeds starting 2 weeks before your last frost date.
- For Fall & Winter Harvests: sow seeds in late summer, starting about 10 weeks before your first frost date. As mentioned above, kale is cold-hardy and can easily make it through frosts and freezes. However, it will take longer to mature in fall than in spring since the days are getting shorter and colder, not longer and warmer.
Planting
- Depth: Sow each seed about 1/4 – 1/2″ deep.
- Seed Spacing: We’ll plant 10-15 seeds in a single square foot, then “thin out” the weaker plants for eating. It takes about 25 days to get “baby” kale and about 50-70 days to get large, mature kale (depending on the variety). By the time your kale plants are fully mature (50 days after germination), your plants should be thinned back to a spacing of about 12″ between plants and you should have already enjoyed lots of tender young kale greens along the way.
- Row Spacing: If you’re growing kale in rows, space each row 12-18″ apart.
Transplanting Outdoors
If you started your seeds indoors, follow the instructions below. If you germinated your seeds outdoors in your garden, you can skip this section and head on over to the Sun, Soil & Water guide.
1. HARDENING THEM OFF:

Outdoor direct sunlight is always more intense than either indoor grow lights or light filtered through a window. Many new gardeners make the mistake of immediately transplanting their plants outdoors into direct sunlight before “hardening them off.” This mistake can cause extreme sunburn that severely damages or kills your plants. To be safe, plan to harden your kale seedlings off outdoors over the course of a week as follows:
- Days 1 – 3: Place your seedlings outdoors in a shady spot that will only get 3-5 hours of direct sunlight throughout the day.
- Days 4 – 5: Place your seedlings in a slightly sunnier spot that will get about 5-6 hours of direct sunlight.
- Days 6 – 7: Place your seedlings in a full sun spot.
Occasionally, your seedlings’ leaves may appear limp due to lack of water, so try to keep their soil moist, but not wet. If you notice your seedling leaves beginning to look white and papery, they’ve gotten sunburned; put them in a partly shady spot for a few days and allow them to recover. Again, if you don’t properly harden off your seedlings, they can get severely sunburned, which will either slow their growth to a crawl while they recover or possibly kill them (if they’re small or weak). Also, be sure that you bring your kale seedlings inside any time the temperatures drop below 45ºF.
2. PLANTING OUTSIDE:
- Spring & Summer – Once your last frost date has passed and there are no temperatures below 45°F in your 10-day weather forecast, transplant your kale seedlings outdoors.
- Late Summer Through Fall – You can continue to transplant your indoor-germinated kale seedlings from spring – summer and well into the fall in many climate zones. To find out how late you can transplant your kale seedlings, you’ll need to find your first frost date. You can transplant your kale seedlings up to 25 days until your first frost date to get “baby” kale, and about 50 days before your first frost date to get harvests of large, “bunching” kale. If you plan to overwinter your kale for seed saving during the following year, you’ll want to ensure that your plants are large and mature, so the earlier you can get them in the ground, the better.
3. BURYING:
Dig a hole deep enough to bury the seedling up to the base of the stem of the plant. If you are using a peat/paper/cow pot, do NOT remove the pot from around the seedling, since this may damage the roots. (With plastic seed trays, you need to remove the plastic tray before planting.) If you don’t have rich, healthy soil where you plan to place your kale plants, consider getting organic gardening soil from your local gardening center and adding it to the soil around the planting spot (a 1 foot x 1 foot area of good soil around the plant should suffice).
4. WATERING:
Immediately after planting, give each newly planted kale seedlings a deep watering around the base of the plant.
5. TWO TRICKS:
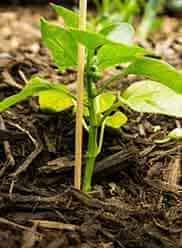
Two final planting tips that will make your life much easier:
1) The Stick Trick – New transplanted seedlings are often “chopped down” by the aptly named “cutworms.” We’ve had 100% success stopping these pests. We simply find a stick roughly the same thickness as a toothpick and stick it in the ground right next to the stem of our seedlings. When the cutworms come along and feel around the seedling, it is tricked into thinking that the plant is too tough to cut down, so it moves along to its next victim.
2) Wood Chips/Mulch – We can’t overemphasize how important top-dressing your beds with wood chips or mulch is for building and maintaing healthy soil, regulating soil moisture & temperature, and blocking unwanted plants – aka “weeds.” After you plant your seedlings, make sure to put at least a few inches of mulch on top of the soil surface around your plants, if it’s not already there.
Jump ahead to Sun, Soil, Water section >

Sun, Soil & Water
Sun: Kale will do better in partial shade in the summer (less than 6 hours of direct sunlight) but will produce better in full sun in the winter (6+ hours of direct sunlight).
Soil: Kale grows best in rich, moist soils with lots of organic matter and a pH between 6.0 – 7.5.
Five techniques that you can use to drastically improve your soil health & biological fertility are:
- “hugelkultur” (click here to read about this technique);
- polyculture plant guilds (see “Guild Plants,” the next section in this guide);
- top-dressing your soil with 3-6 inches of wood chips/mulch twice per year in the fall and spring;
- using living cover crop mixes rather than leaving your soil fallow;
- using compost from hot composting methods (Berkeley method) or worm castings (you can buy worm castings in our store). Apply the compost/castings on top of our beds and water them in or maximize the compost/castings over a larger area by making actively aerated compost teas (AACT) to be used as soil drenches or foliar sprays. Both applications drastically increase the quantity and diversity of beneficial microbes in your soil and on your plants.
These techniques can improve your soil fertility to the point that your plants will not require any additional fertilizer and virtually no additional water throughout the growing season once their root systems get established. We recommend that you NOT use non-organic/synthetic fertilizers as these will have a compounding harmful effect on your soil over time. Plan to build your soil fertility for the long-term using techniques that build biological soil fertility.
Water: Kale needs approximately 1″ of water per week. If your soil is healthy, your plants have established their root systems and rain is regular, you may not need to provide any additional water to your mature kale plants. If you do need to water, water deeply (shallow watering can lead to shallower root systems).
Jump to Helpful Guild Plants section >
Helpful Guild Plants/Companion Plants
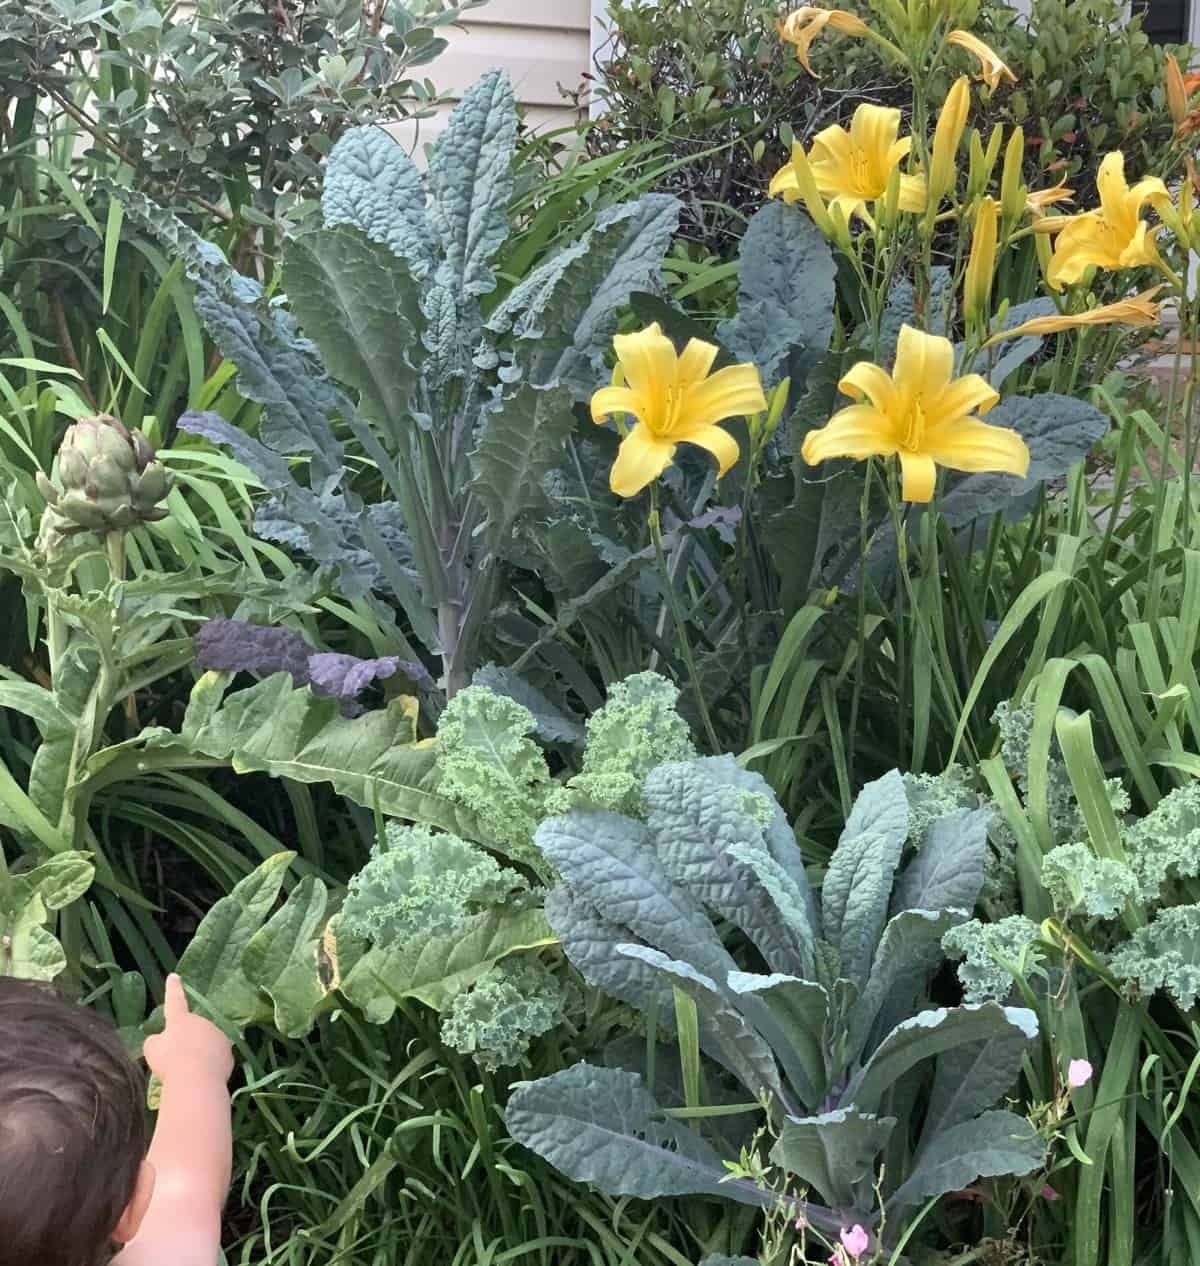
Definition: A plant “guild” is polyculture plant system (multiple plant species planted together) purposefully designed to create symbiotic relationships between species, increase plant productivity and generate higher survival rates amongst the individual plants in the guild system. If you’ve ever visited a “wild” ecosystem (mature forest or prairie), you’ve unknowingly seen plant guilds. Like people, plants perform better in communities than they do as isolated individuals.
Some Common Plants to Consider in Your Kale Guild:
Fruit & Veggies
- alliums (onions, garlic, chives, etc)
- beets
- bush beans
- celery
- tomatoes (*debated, but we’ve found they grow well together, especially in the summer when tomatoes provide shade for the kale)
Flowers
- calendula
- chamomile
- clover
- lacy phacelia (purple tansy)
- larkspur
- marigolds
- nasturtiums
Herbs
- dill
- coriander
- hyssop
- mint
- rosemary
- sage
- thyme
Plants to AVOID Planting With Your Kale
- grapes
Jump to kale Pests & Diseases section >
Planting Kale in your Landscape or in a Container
Plant Partners
Bok choi, lettuce, spinach, radishes, mâche, turnips, chard, kohlrabi, broccoli raab, beets, carrots, scallions, onions, arugula, mustard greens, Austrian winter peas (for shoots), chicories (radicchio, endive, & escarole), chickweed (it’s edible and protects the soil), parsley, chervil, dill, chives, pansies, poppies, calendula, nasturtiums, chrysanthemums, and most other cool season crops.
Planting Kale in your Landscape
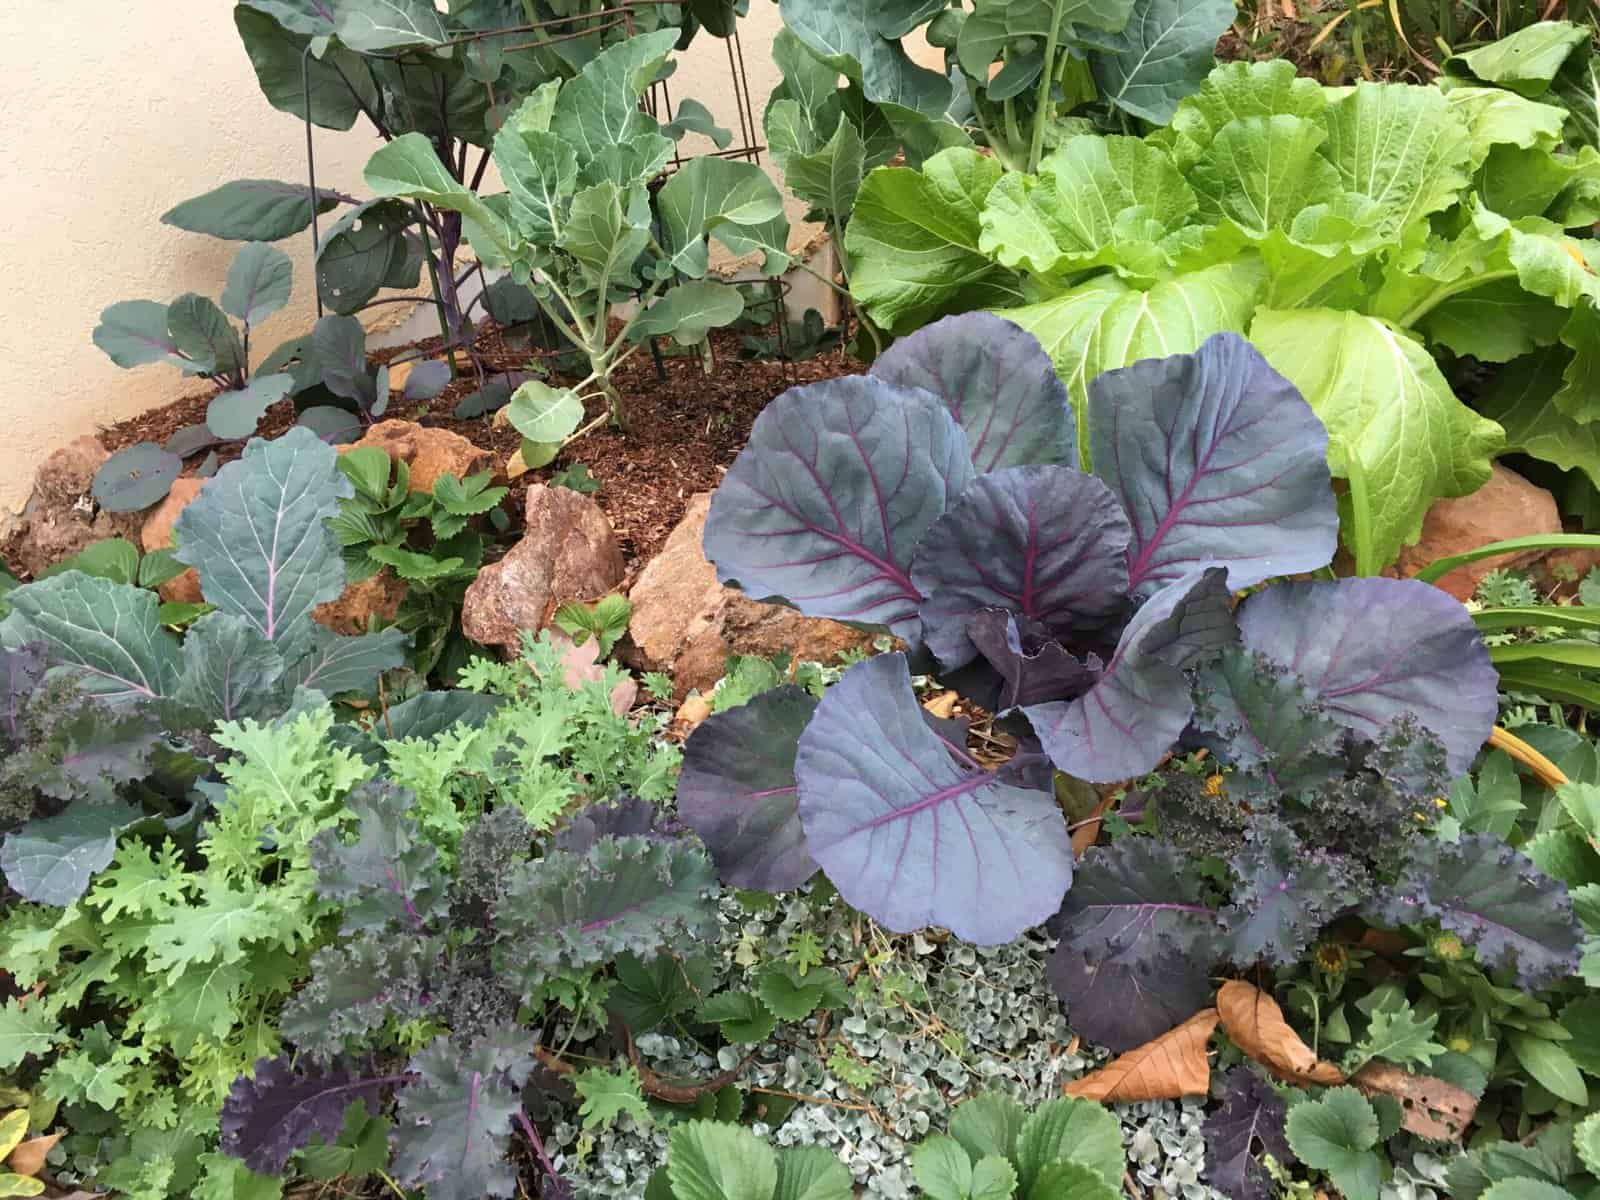
This is a vegetable that has serious curbside appeal and it’s possibly the most versatile crop for an edible landscape. Plant a border of it as a backdrop to your spring or fall pansies, bulbs, sweet alyssum, calendula, nasturtiums, or colorful salad greens for a show-stopping display of color. Magenta, purple, and pink pansies will bring out the highlights in red-toned kale’s midribs, whereas blue and white shades will bring out the tones of silvery-blue varieties. Be sure to consider the leaf shape when planning your design since you can choose smooth, lobed, or very frilly foliage depending on the plants you plan to site it next to. The more contrast in leaf shape, the more each planting will stand out.

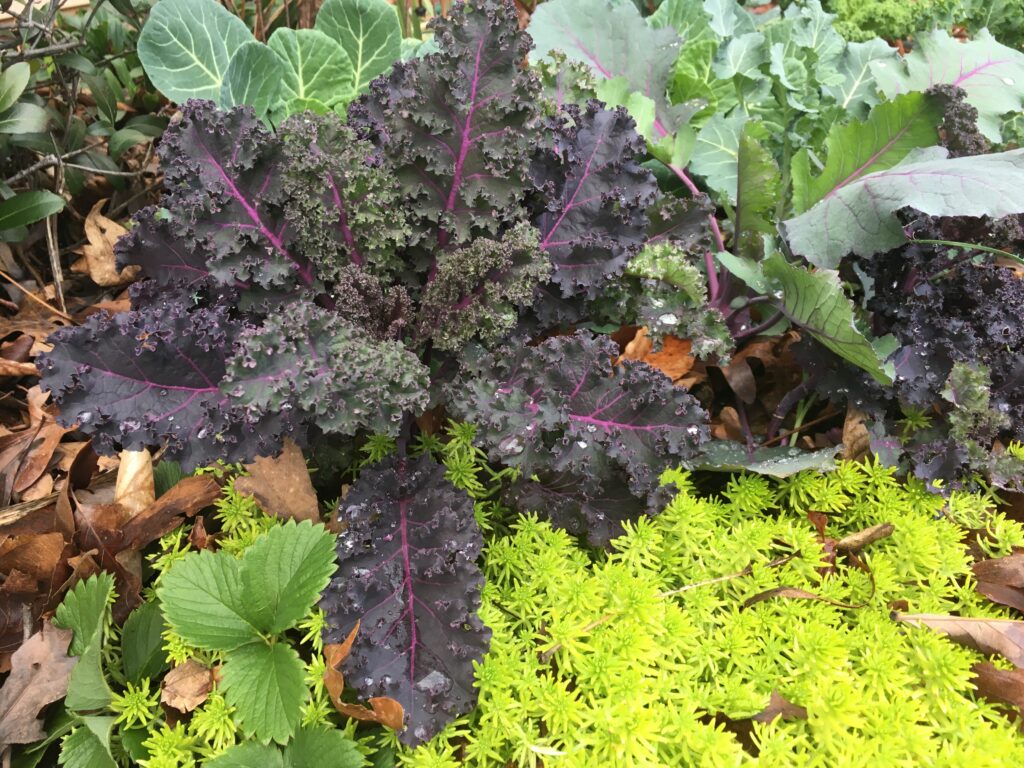

If planting kale in a mixed garden, it is usually taller than other cold season vegetables and is best at the northwest portion of your bed so it doesn’t shade other plants. When Kale bolts (makes flowers), try to leave them as long as possible both for their beauty and for the beneficial insects they attract in the early spring when little else is blooming.
Your kale may begin to appear leggy when it bolts, or harvesting the lower leaves will cause it to have ragged, bare stems you can hide them with other crops (in warm weather we like to use bush beans, in cool weather Austrian winter peas or fava beans both work well). Kale is long-lasting in all but the hottest summers so it can be utilized in a year-round design or you can plan to remove it once the season heats up.
Planting Kale in a Container or Raised Bed

Container Spacing for maximum harvest: Minimum container size – min. 5 gallons (per 1-12 plants), approx. 12-14 in. diameter, 8-14 in. deep.
If you’re using the minimum container size, we only recommend one kale plant. If it is a larger pot, consider using the container garden design formula of a “thriller, filler, and spiller”.
The “thriller” in this scenario is usually a tall plant with bold colors, structure, or flowers and most kale varieties fit the bill.
Now you just need to choose the “filler” and “spiller,” which you may have guessed are complimentary plants that fill the empty space or that spill out of the pot for a waterfall effect, respectively. For very large pots, some people use up to 3 filler species, but usually there is only 1 thriller and 1 spiller for a clean design.
Potential “spillers” for a cool season pot include sculpit; sugar snap, snow, or Austrian winter peas; or an evergreen like a juniper or trailing rosemary. Our recommendations for cool season “fillers” include ‘MacGregor’s Favorite’ chard, pansies (magenta is a good color to bring out the tones if your kale has red to purple highlights), parsley, or lettuce.
For a cool color scheme of plants consider choosing a gray, silver, terra cotta, stone, white, beige, cream, pale yellow, or brown planting container. Autumn colors or neutral tones such as brown or black are excellent choices in the fall.

Common Pests & Diseases
Kale: Outdoor Pests & Diseases
Kale is a relatively carefree crop with few diseases and pest problems. The most common problems reported with kale are:
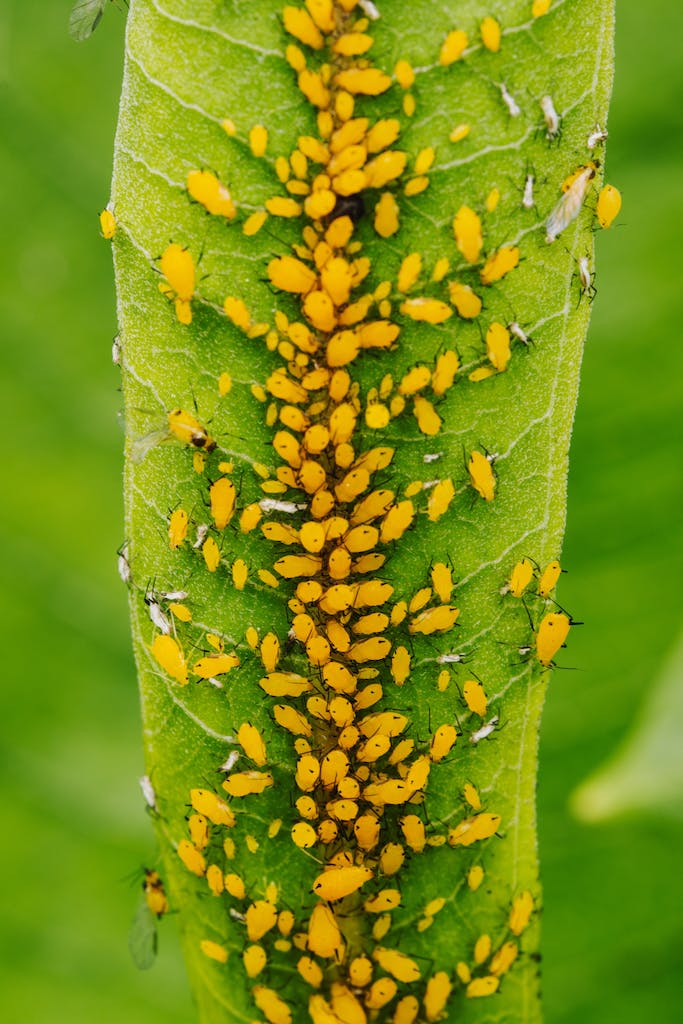
- Aphids – Description: Tiny insects (color varies by type) that cover the stem and leaves of plants, sucking sap. Symptoms: More dangerous to young plants than mature plants – may cause leaves to wilt or die. Organic Treatment: Aphids are the favorite food of lady bugs (and lady bug larvae), parasitoid wasps, and other small insect predators. If you have an aphid infestation and predator insects are not helping, you can spray the plants with insecticidal soap or neem oil.
- Cabbage Worms – Description: Green larvae of a 1-2″ white butterfly. Symptoms: Holes in leaves or skeletonized leaves – worse in summer than in the cooler months of spring and fall. Organic Treatment: Parent butterflies are prey for birds and other predatory insects (like robber flies). Larvae (cabbage worms) can be controlled with neem oil, insecticidal soaps, Bt (Bacillus thuringiensis) and other organic foliar sprays.
- Flea Beetles – Description: Tiny black beetles on the top and underside of your kale leaves. Symptoms: Small holes in leaves; healthy kale plants can outgrow any damage caused by flea beetles, but the beetles can slow plant growth by reducing the rate of photosynthesis. Organic Treatment: Row covers for 100% prevention. Applications of neem oil on the top and bottom of leaves during dry weather can help prevent flea beetles from coming to the kale plant, but does not kill them.
Remember…
A healthy garden needs pests. Pest species provide food for beneficial species. A garden ecosystem that’s teeming with life will tend to hold the population of any one species in check. We’ve found that by focusing on improving our soil fertility and using polyculture plant systems that attract and support a wide variety of insects, we’ve virtually eliminated all pest and disease problems from our garden.
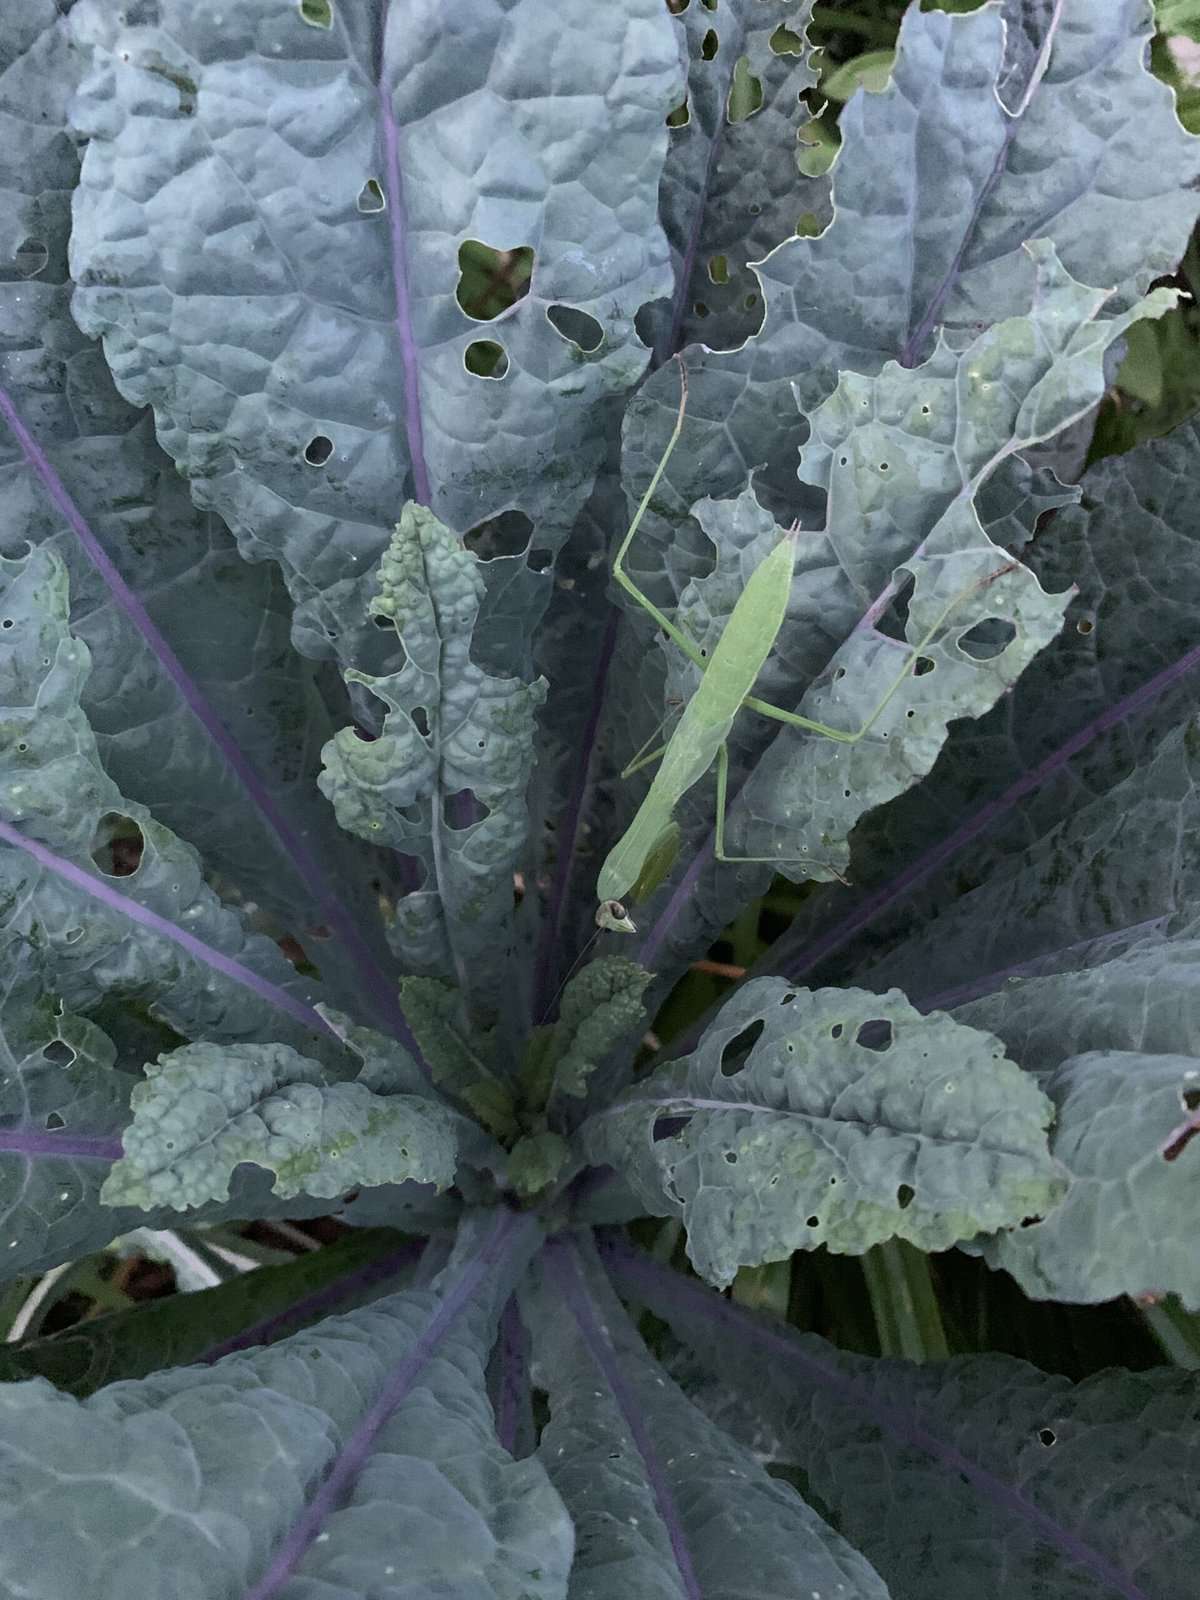
Please be thoughtful in your approach to these potential problems. Is your soil healthy and teeming with microbial life? Have you planted other beneficial plants throughout your garden system that might help with the problem? If you wait a few days, will the “pest” become the food of a predator? Observe your garden system and think holistically before taking any action that could disrupt the web of life (pesticides kill beneficial insects too, not just pest insects; fungicides kill beneficial funguses too, not just “bad” funguses; etc). Personally, we’d rather lose a plant than accidentally kill a colony of nearby bees.
Jump to Harvesting section >
Harvesting Kale
Whether eaten raw or cooked, kale greens are delicious and packed with nutrition.
If we start kale seeds outdoors, we’ll plant them densely, then begin harvesting baby kale greens within a few weeks after the seeds germinate. “Thinning out” the weaker kale plants/greens to eat in salad provides a nice, consistent harvest while allowing the hardiest plants to remain for a later harvest or seed saving. The final spacing for your mature kale plants should be about 12″ between each plant.
Harvesting Tips
- Multiple Harvests – Don’t cut the developing center bud of the plant if you want multiple harvests from the same plant. Instead, remove the outer leaves and let the young new inner leaves continue to form for later harvest.
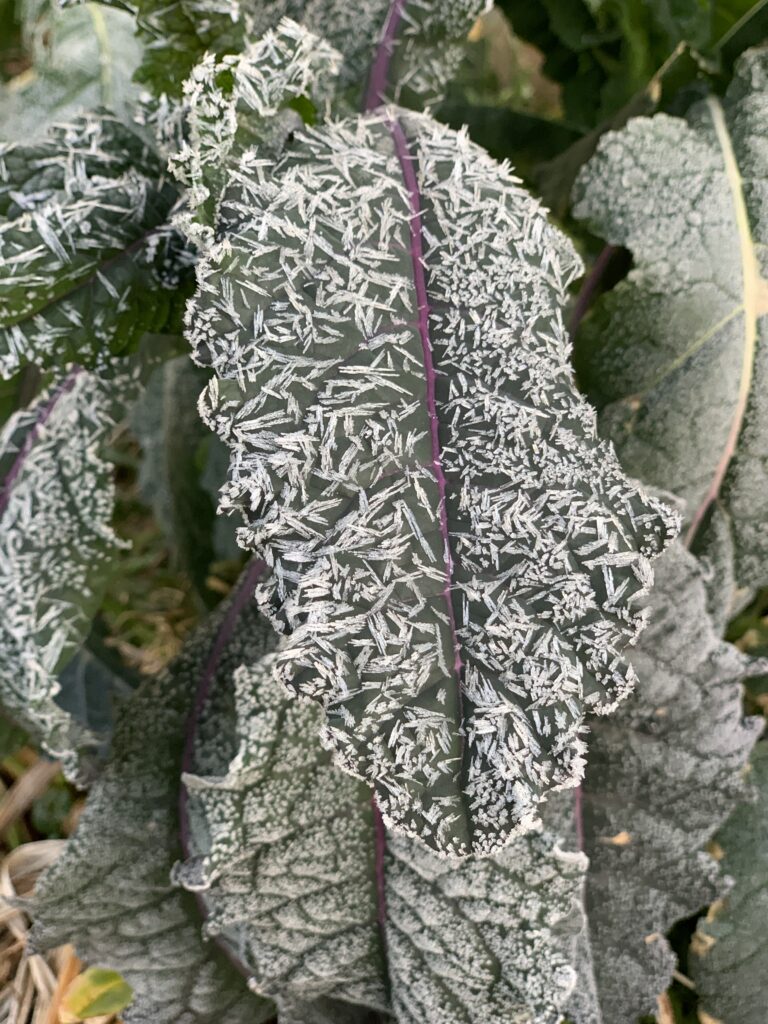
- Improved By Frost – Frost improves the flavor of kale. Many gardeners in the north say that some of the tastiest kale is harvested under a foot of snow (we’ve never seen a foot of snow, but it sounds frightening). So, for the best flavored kale, harvest after several hard frosts once the starches have been transformed into natural sugars.
Preparing Kale Greens
There are numerous ways to prepare raw or cooked kale greens. Our personal favorites are: 1) baked kale chips (extra virgin olive oil, sea salt, place on aluminum foil then bake until crunchy), and 2) Fresh in a simple kale salad – toss with extra virgin olive oil, nutritional yeast (wonderful cheesy flavor) and sea salt.
Jump to Seed Saving section >
Saving Seeds
Seed saving is a critical step for ensuring that our seeds are passed down from generation to generation, so please give it a try and also be sure to share your seeds with other people! Another benefit: seeds you’ve properly saved from your own garden will be better adapted to your specific growing environment via natural epigenetic processes.
Kale is a biennial plant, meaning it won’t produce seeds during the same year you grow it. You’ll need to overwinter them so they can produce seeds the following spring/summer. “Kale” may fall into different species depending on what you’re growing: Brassica oleracea variety acephala or Brassica napus. The good news from a seed-saving perspective is that these two species don’t tend to cross-pollinate easily, so you can grow them at the same time (read more here).
You can save your new, open-pollinated GrowJourney kale seeds as follows:
- Select Healthiest Plants For Overwintering – Thin your kale down to the strongest, healthiest plants, eating the greens of harvested plants as salads or cooked greens as you go. Depending on your climate zone, you can overwinter kale as follows:
- Cold climate regions (winter temps frequently below 10°F) – Kale can survive down to 10 °F (there are reports of some varieties surviving down to -10 °F). If there is heavy snow on top of your kale, this will insulate when temperatures drop below 10 °F. If the leaves are exposed when temperatures drop below 10 °F, cover the plants with a frost blanket or pile of mulch (leaves, straw, etc).
- Moderate climate regions (winter temps rarely go below 10°F) – Since kale can survive down to 10 °F, you can leave it exposed throughout the winter. You’ll want to add 3″ – 6″ of wood chips/mulch around the plants to help insulate the roots from the cold while also providing nutrition to the plant as the mulch is turned into fertilizer by your soil microbes.
- Warm climate regions (winter temps rarely drop below freezing) – Sit back and enjoy where you live!
- Spring Growth – If you’ve had to cover your plants for the winter, uncover them as soon as temperatures are no longer dipping into the teens. As the weather continues to warm, your kale will start producing new greens. Don’t pick the new greens, instead allow them to grow and provide energy to the plant and to new seed formation. As the seed stems grow and begin producing clusters of beautiful yellow flowers, they’ll take energy from the meristem, causing it to shrink.
- Avoid Cross Pollination – Kale is insect-pollinated and can be cross-pollinated by other members of the Brassica oleracea family (cabbage, broccoli, cauliflower, kale, Brussels sprouts, collard and others). To make sure you’re producing a seed that’s true to the parent, don’t grow any other seeding brassicas within a 1 mile radius (unless they flower at a different time).
- Harvest Seeds – The pollinated flowers will turn into long, thin seed pods. As they mature, the seed pods will turn brown. Once the majority of the seed pods have turned brown, cut the seed stalks at their base and store them indoors in a dry location for 2-3 weeks, allowing the seeds to fully dry and mature.
- Thresh and Store Seeds For the Future – Once dried, the seed pods can easily be threshed or rubbed together in your hands to remove the tiny round seeds hidden inside. Remove as much dry debris as you want, then store your kale seeds in an airtight container (add rice or silica packages to hold any moisture). You can also store the seeds in envelopes, although this will make them more susceptible to moisture damage over the course of several years.
- Properly saved and stored in a cool, dry environment, your new kale seeds can remain viable (e.g. able to be grown) for 4 years. Plant and share them so the GrowJourney continues!
Resources
Video
Articles


Shop our store!
No more choice overload. With all products carefully curated by our expert team, the GrowJourney store has the basics you need to get growing, organically. Seed starting supplies, gardening books, tools, and more!
As an Amazon Associate, GrowJourney earns from qualifying purchases. Read more: terms of service.