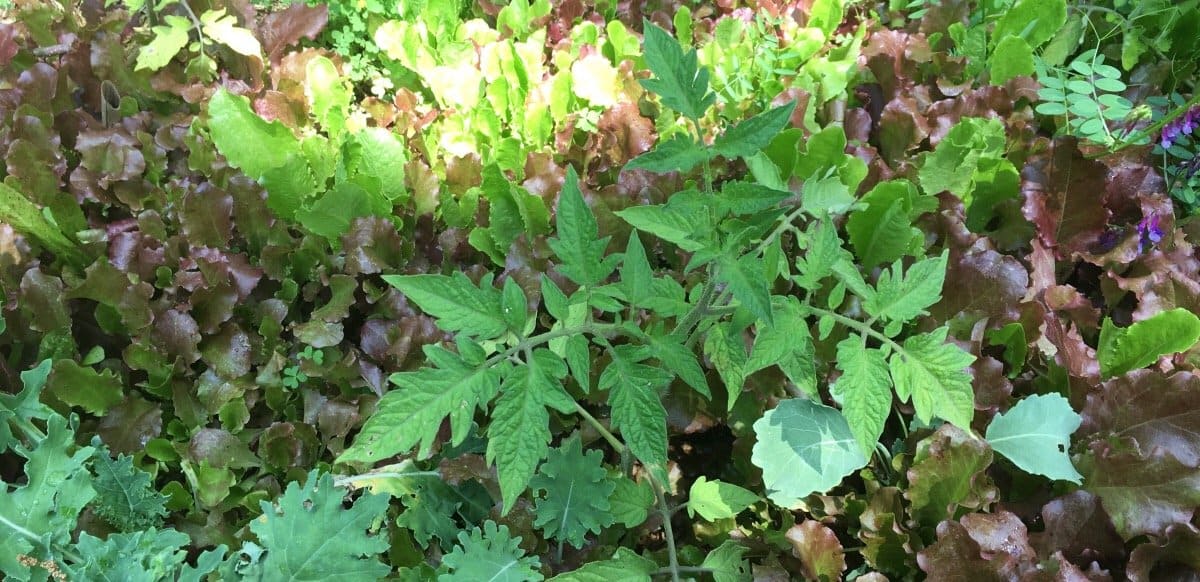

Are pansy flowers edible? Yes! Here’s how to grow and eat them.
As an Amazon Associate, GrowJourney earns from qualifying purchases. Read more: terms of service.
Introduction to pansies
Pansies (Viola wittrockiana) are flowering plants prized for their vibrant colors. The delicate silver dollar-sized flowers come in a wide array of colors, including shades of purple, yellow, white, and blue, and are known for their “faces” or blotches on the petals.
Pansies are typically grown as annuals but in ideal climates (cool and damp) they can grow as biennials or short-lived perennials.
While pansies are perhaps best known as a cool weather ornamental plant here in the United States, they can also be grown for another reason: their edibility!

If you’d like to use pansies as a cool season edible plant like we do, it makes sense to grow them from seed using organic methods rather than buying them from commercial garden centers where they’ve likely been treated with pesticides.
What parts of the pansy plant are edible and what do they taste like?
Both pansy flowers and leaves are edible.
- Pansy flowers have a silken texture and a pleasant, sweet flavor with subtle notes of wintergreen/mint. The whole flower is edible, not just the individual petals.
- Pansy leaves also have a mild wintergreen flavor, but have a texture more akin to spinach. Pansy leaves are quite small compared to spinach, so it would take quite a bit of time to pick large quantities necessary for a salad. Removing too many of the leaves will limit the plant’s ability to photosynthesize thus reducing flower production.
Also note that as with any food, some people may have allergic reactions to pansies. Only consume a small amount your first time to make sure you don’t have any allergic response.
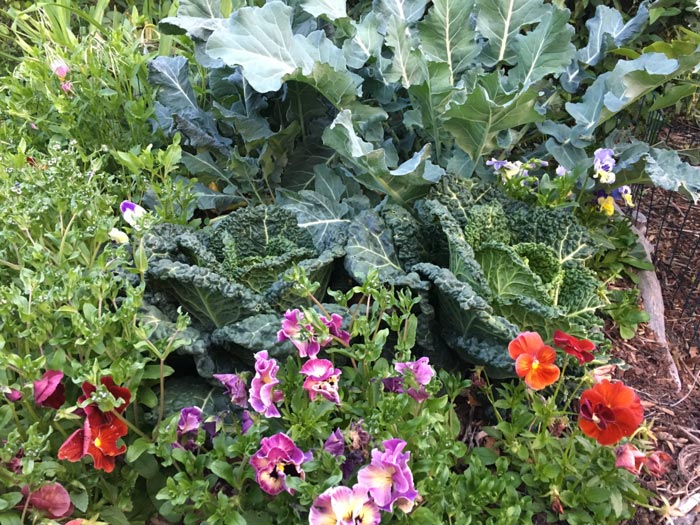
Where did pansies originate?
The original pansies were bred in the 1800s in England by William Thompson, a gardener employed by Lord Gambier. Thompson crossbred multiple types of wild English violas to create a larger-flowered and more colorful pansy.
Countless other plant breeders have since built upon Thompson’s original cultivars, thus producing the wide variety of pansies we enjoy today.
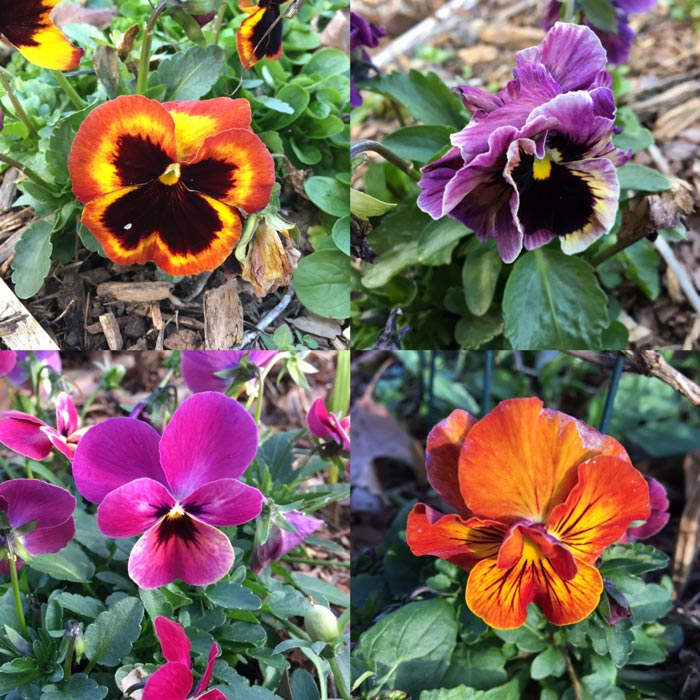
Are pansies and violas the same thing?
Pansies are a type of viola, but not all violas are pansies. If that statement sounds confusing, think of it like this: all Golden Retrievers are canines, but not all canines are Golden Retrievers.
For instance, in our gardens, we grow both domesticated pansies (a hybrid viola bred from native European violas) and common blue violet (Viola sororia), which is a species of viola native to the eastern United States where we live.
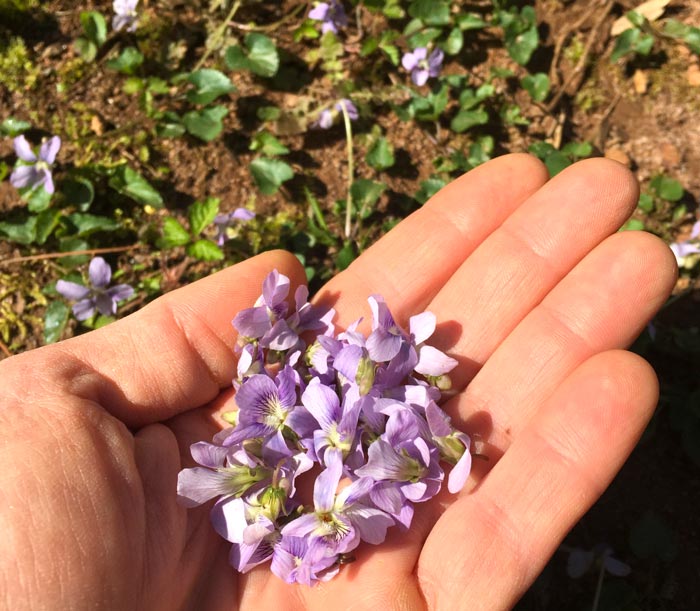
The flowers and leaves of our native common blue violet are also edible. This viola species has a long history of consumption by Native Americans for both food and medicinal properties. However, there are some viola species that are not edible. Translation: Don’t assume all violas / viola flowers are edible; if you’re a forager, always be sure to identify the species before you consider eating it.
How to grow pansies and violas
Here’s how to grow your own organic edible pansies at home. Note that the same growing information also applies to violas.
Step 1: Select seeds.
Choose high-quality pansy seeds from a reputable supplier or nursery. Look for varieties that suit your climate and preferences regarding color and flower size.
Also, instead of only growing non-native violas/hybrids like pansies, see if you can find species of violas native to your specific area. Growing native species of flowering plants is a great way to help native bees and other pollinators.
Where do we get our pansy seeds? We source ours from Territorial Seed (there’s no relationship, we just like their selections.) Our personal favorite is their ‘Nature™ Mulberry Shades’ cultivar, which features a wide range of flower colors present on each individual plant.

All pansies produce beautiful flowers, so it’s hard to go wrong when selecting pansy seeds.
Step 2: Choose the ideal time to start seeds.
For best success, we recommend starting your pansy seeds indoors rather than direct sowing them in your garden.
- Cool climates – In cooler climates (Zones 6 or lower) pansy seeds can be sown indoors 8-10 weeks before the last expected frost date in your area. You can find your frost dates here.
- Mild to warm climates – In mild climates (Zones 7+), pansy seeds can be started indoors in late summer or early fall for winter and spring blooms.
For reference: We live on the outskirts of Greenville, SC, in USDA hardiness zone 8a. We like to start our pansy seeds between late summer and early fall, then transplant young plants in the ground before winter so they have a chance to get established before deep freezes start.
Our pansy plants grow slowly if at all during the middle of winter (during the Persephone period) with moderate flower production. However, by late winter they begin growing rapidly, producing copious amounts of flowers. They’ll continue blooming through late spring before they die out with the onset of hot weather.
In colder northern climates, pansy plants may be able to be grown throughout the summer months.
Step 3: Start your seeds.
Pansy seeds benefit from cold stratification. Put your seed packet in the fridge for 1-2 weeks prior to sowing them.
Fill seed starting cells with a pre-dampened (but not sopping wet) high quality seed starting mix. Use a pencil to make a 1/4″ deep indentation in the middle of each cell. (Note: Use the Seed Starting Supplies section of our online Amazon store to find our top recommended products.)
Next, put one pansy seed in each cell. Once all seeds are sown, use a finger to push soil over the seeds. Pansy seeds need darkness to germinate, so lightly covering them with soil is essential.
At indoor temps of 70°F (21°C), pansy seeds will germinate in 7-14 days. Keep the soil damp but not wet as you await germination.
Two other tips for success as you wait for your pansy seeds to germinate:
- Air circulation – Keep your seed flat(s) in an area with good air circulation (example: a room with a ceiling fan).
- Grow lights or sunlight – During the day, keep the trays either under indoor grow lights or in front of a bright window.
These two tips will help prevent the soil surface from developing mold and reduce the likelihood of “damping off” when your seeds germinate.
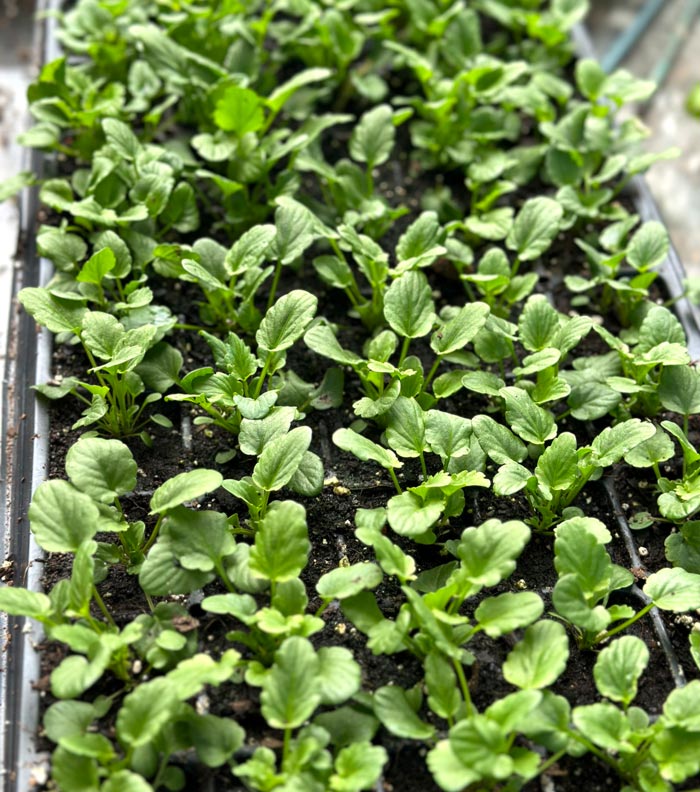
Step 4: Prepare seedlings for transplant.
You’ll want to transplant your pansy seedlings outdoors 6-8 weeks after germination. Keep the seedlings watered (soil should be damp, not dry or wet), and be sure to provide adequate light until you’re ready to transplant them outdoors.
If you’re transplanting your indoor-grown pansy seedlings in the spring, you’ll want to harden them off, aka slowly acclimate them to full outdoor sunlight over the course of 10-14 days.
If you’re transplanting your pansies outdoors in the fall or winter when sunlight is less intense, hardening them off probably won’t be necessary.
Pansy temperature parameters:
- Pansies grow best in sustained temperatures between 40-60°F (4-15°C).
- In our experience, established pansy plants can survive deep freezes and even temperatures down into the single digits. They won’t be happy or actively grow at those temperatures, but they will survive.
- When daytime high temperatures reach 80°F (27°C), pansies will begin to get stressed and soon die if those temperatures persist.
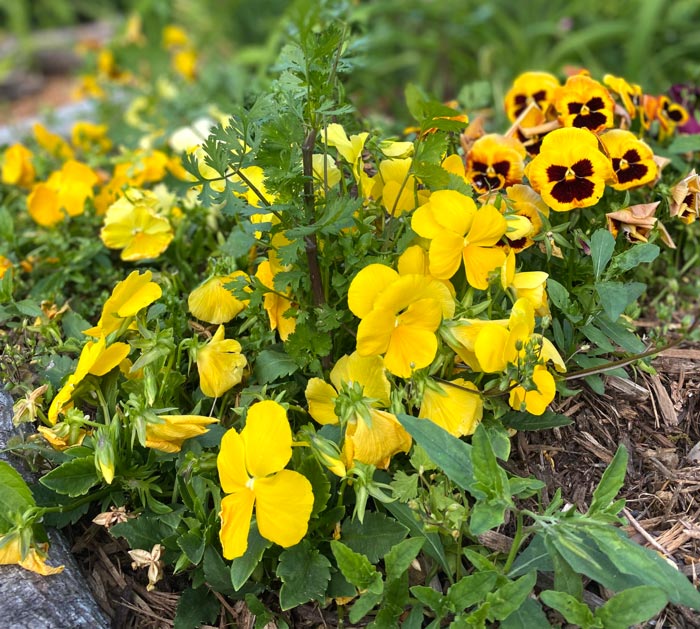
Step 5: Transplant outdoors
Keep the following factors in mind when transplanting your pansies into their final spots in your garden or yard:
Sunlight
For best results, pansies require about 6-8 hours of sunlight per day. However, in warmer climates, you can extend pansies’ growing season by growing them in partial shade.
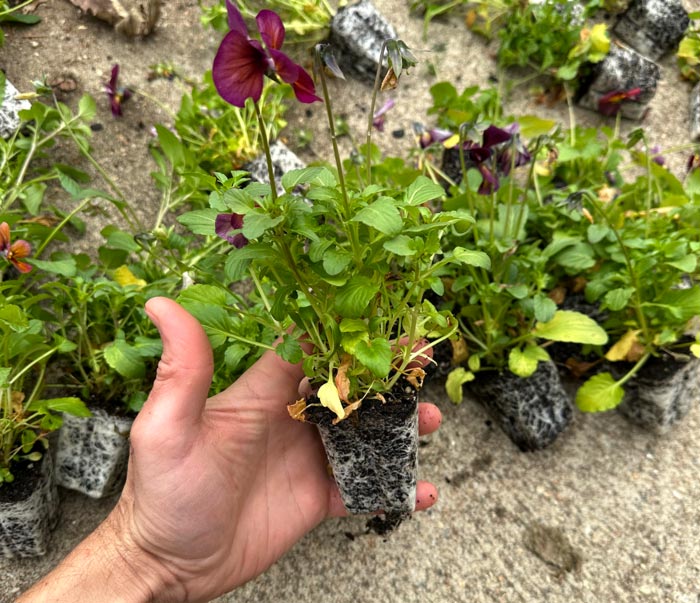
Soil prep
Pansies grow best in rich, well-draining soil. Prepare each transplanting hole by adding a 1 cup scoop of high quality compost or worm castings. Alternately, you could add a slow-release pelleted organic fertilizer.
Burying depth
Be careful not to bury the stems of your pansy plants when transplanting or you could cause them to rot. Instead, the soil surface in your garden should be level with the top of the surface of your pansy plugs/plants.
Mulch
Also, consider top-dressing your planted beds with 2-3″ of mulch (wood chips, straw, chopped leaves, etc). Mulch protects and feeds the soil, minimizes soil temperature fluctuations, and helps maintain optimal soil moisture. Using mulch around your pansy plants also means the flowers won’t be covered in dirt splatter when you harvest them.
“Watering in”
After transplanting, give each plant a good watering to help get the roots established. From then on, 1″ of water per week via rainfall or irrigation will provide sufficient water for your pansy plants.
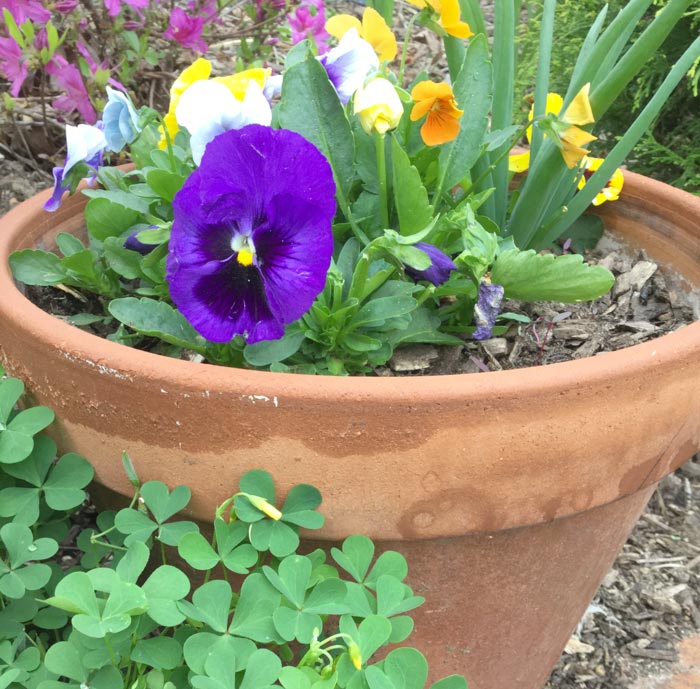
Step 6: Maintain plants and harvest flowers.
Pansies are very low-maintenance plants with few pest and disease problems. However, slugs, snails, aphids, and pill bugs are the most common pests you may encounter. Should you have serious problems with one or multiple of these pests, you can find organic control methods to help.
If you have good garden soil, you probably won’t need to add any additional fertilizer to your pansies. If you notice the plants looking anemic or the leaves yellowing even though the temperature ranges are ideal (see above), then you can fertilize them with a diluted liquid organic fertilizer like kelp emulsion or fish emulsion.
Deadhead / remove the pansy flowers to encourage your pansy plants to continue producing more blooms rather than putting energy into seed production. If you intend to eat the flowers, pinch them off the plants while they’re still fresh and un-wilted.
To maintain optimal pansy flower quality for consumption:
- Harvest flowers in the morning not during the day.
- Only rinse / clean the flowers if they’re dirty. If so, quickly rinse them in very cold water then try to remove as much water as possible.
- Store the flowers in bags in your fridge’s produce drawer and use them within 48 hours.
Step 7: Save seeds.
If you intend to save seeds from your pansy flowers, you’ll need to leave some flowers on the plants to set. In case you’re wondering: yes, pansies are self-fertile so you only need one plant to get seeds.
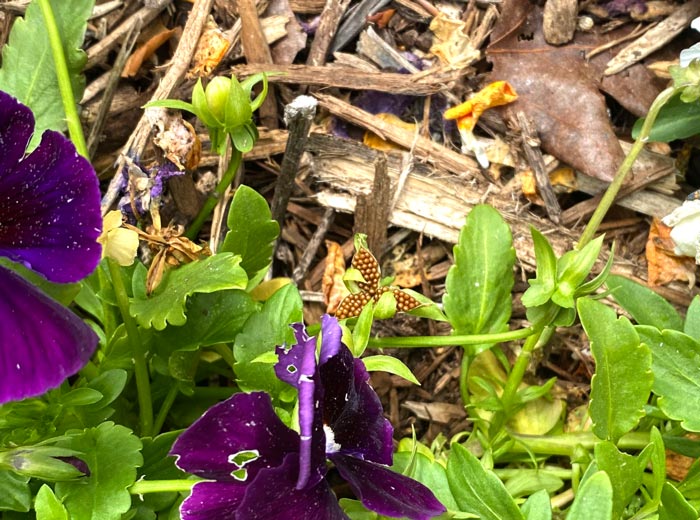
Note that open-pollinated pansy varieties will grow true to seed but hybrids will not. However, even seeds saved from hybrid pansies can still produce pansy plants with beautiful flowers, they’re just likely to be different from the parent plant.
Harvest seeds when the seed pods are dry and brown. If you leave them on the plant too long, they’ll open and the seeds will fall to the ground. Store seeds in a cool, dry place until you’re ready to start the process anew!
How to eat pansy flowers
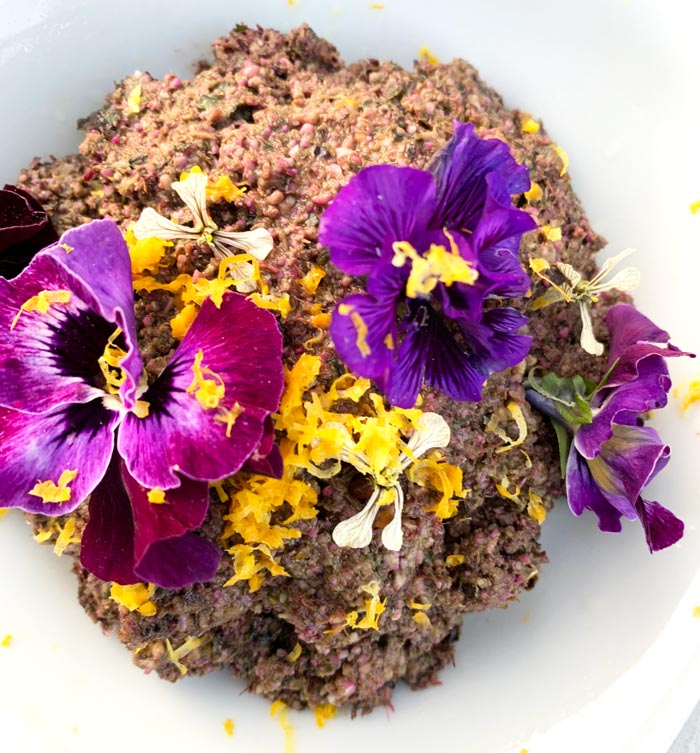
Here are some of the best ways to consume pansy flowers:
- freeze them inside of ice cubes to be served in drinks;
- use them as a garnish atop savory dishes when plating;
- add them as a beautiful pop of color to fruit salads, potato salad, or garden green salads;
- make a probiotic sparkling pansy or viola cordial (add some pansy ice cubes for an extra wow factor!);
- sprinkle the whole flowers or the individual flower petals on to ice cream;
- use them as a decorative flair on desserts (we’ve even seen them on wedding cakes wherein a cream cheese icing was used as the “glue” to hold them in place).
Now you know how to grow your own pansies — and how to eat them! Enjoy!